Embrace pop art and mixed media painting with these pop art style mason jars on galvanized metal plaques. In this step-by-step tutorial, you'll receive the three exclusive templates to create acrylic on metal mason jar masterpieces! Hang these in your kitchen to keep on hand for potion making perfection.
Click here on our blog and exchange your email for the download packet
1. Download the outline and reference card from the link above.
2. Choose one or all of the three templates available. We have spider venom, love potion #9, and vampire's blood
3. Cut out the label, contents, and lid separately.
4. Remove tags and string hanger.
5. With any kind of tape, position the patches of paper on the galvanized metal plaque and "hinge" the paper in place. The metal mason jar plaque can be purchased from a popular dollar store (think, buck shrub)
6. Place graphite paper, graphite side down, under the hinged outline pieces. If you do not have graphite paper, rub graphite on the opposite side of the outline. Stack and hinge the image onto the canvas.
7. Transfer the perimeter of the image by applying pressure with a pen or pencil. We're only going for the outside "cookie cutter" image because we're going to prime these areas with gesso. The outlined image will appear on the metal plaque. I went on to reinforce these lines with a wax pencil.
8. Paint these areas with an acrylic primer, such as gesso. This will allow the paint to go on more easily and consistently to the metal surface, bubbling and separating less, and then allowing the acrylic paint applied over it to form a more secure bond.
9. Allow the paint to dry and transfer the "guts" of the image onto the canvas with the graphite transfer method. Match the paper patches with the dried gesso regions and the graphite will apply very generously to the primed regions.
10. Paint the gesso primed areas with acrylic paint. This is a great use for leftover acrylic paint from your Time for Art lessons. Remember this might take a few coats, adding white will make the paint both lighter and more opaque, and you can and should let it dry and retransfer details and lettering.
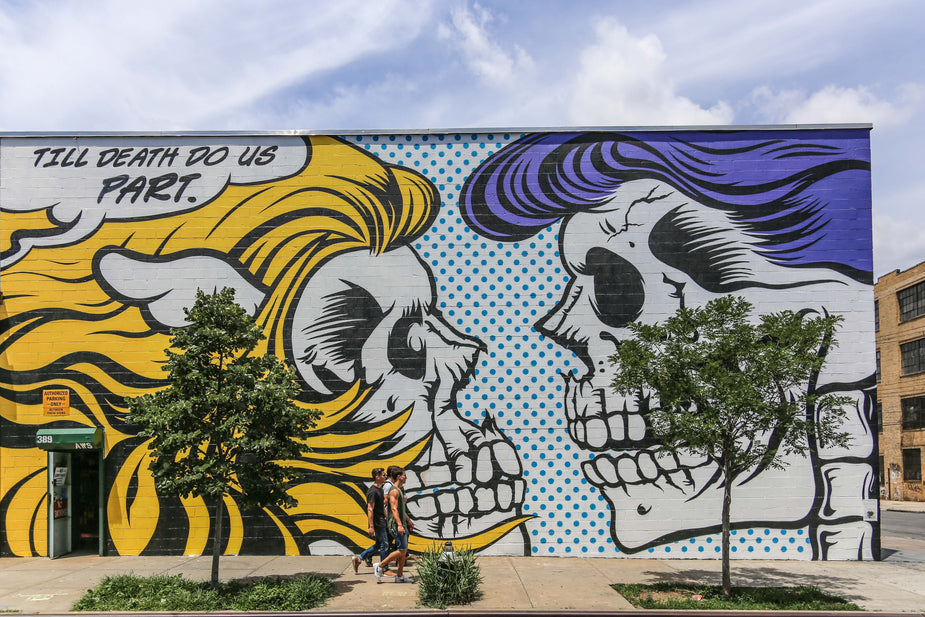
11. Once dry, outline your piece with a fine tip permanent marker. Pop art is often defined by flat colors, black outlines, and casual hand writing.
Watch this step by step video:


Leave a comment
This site is protected by hCaptcha and the hCaptcha Privacy Policy and Terms of Service apply.