

Looking for a fun and creative activity to do this Easter? Look no further! With these free printable templates, you can easily make your own Easter cards and baskets in just minutes. Plus, it's suitable for all ages, so gather the whole family for a crafting extravaganza!
How To Get Started
First things first, download the free printable templates by entering your email in the form below. The FREE Printables will immediately arrive in your inbox. You'll find a variety of designs to choose from. Once you have your templates, simply print them out on cardstock or paper of your choice. Then, follow the easy instructions to cut, fold, and assemble your Easter cards, Easter Baskets and Impasto Bunny Painting.
Easter Card Instructions:
- Download printable. Then print and fold
- Break out the markers, glitter, stickers, paint and whatever else you have in your craft stash.

Easter Basket Instructions:
- Print your chick templates. There is one all ready to color in and one that is blank to make into any face or animal you would like.
- Gather your supplies: Glue, scissors and crayons/markers.
- Color/Paint/decorate your chicks however you may like. There are wings that can hold hearts with Easter sayings you can glue to the front side.
- Cut out the basket piece and handle. Cut carefully between the triangular edge pieces.
- Bend the triangular pieces away from the face sides of the basket.
- Glue the triangular pieces on the basket’s edge to the underside of the face pieces bending with the contour of the curve of the edge. Do this on both sides and allow your piece to dry.
- Glue your handle to the inside of your basket.
Get creative with your designs and make each card and basket unique. You can add personal messages, drawings, or even little surprises inside the baskets. The sky's the limit, so let your imagination run wild!

Impasto Bunny Painting Instructions:
- Download the bunny outline from Time for Art
- Gather household supplies: Baking soda, water, and table knife
- Get out any acrylic paint you may have on hand and mix with white (create a tint) to achieve more pastel like colors
- Paint in any pattern to create a background for your bunny. I did in mine in painterly transitioning stripes. Allow to dry.
- Mix 1 part white paint with 1 part baking soda. For this project I used approximately 1/2 c. Paint and 1/2 c. Baking soda. Add water droplets to achieve the rich mousse like consistency.
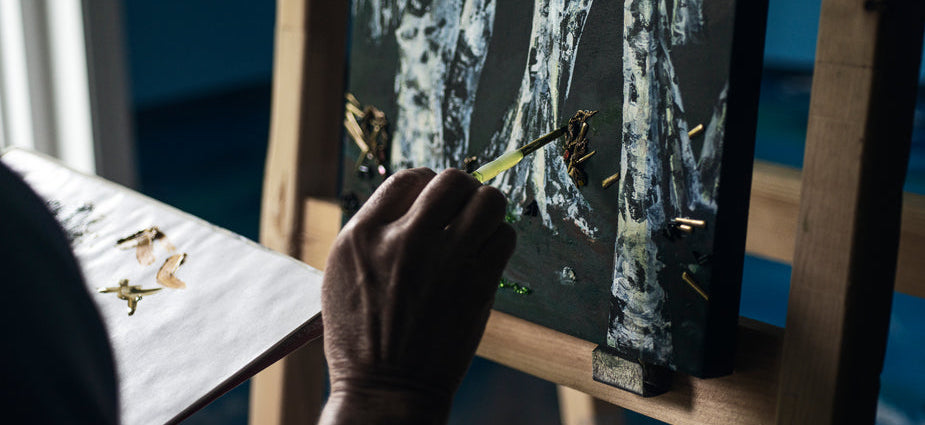
- Apply impasto paint in the outlined area with any kind of knife or spatula. I used a table knife. Start with the ears, then the head, then the body, and then the tail. Save any extra paint in a plastic locking bag. Allow to dry overnight. Tip: use a dehumidifier to help the impasto paint dry evenly. Using this method will allow the paint to not crust or crack. After my bunny dried completely I reapplied paint to the tail to give it more depth.

Spread the Easter Joy
Once your Easter cards and baskets are ready, it's time to spread the joy. Give them to your family, friends, neighbors, or anyone who could use a little pick-me-up. Handmade gifts are always appreciated, especially when they come straight from the heart. Plus, it's a great way to show off your crafting skills and bring a smile to someone's face.
So, what are you waiting for? Download your free printable templates today and get ready to have a hoppy Easter filled with creativity and fun!
Leave a comment
This site is protected by hCaptcha and the hCaptcha Privacy Policy and Terms of Service apply.